
As my software developer career has evolved, my practices and techniques have also evolved. The other day I was looking back at how my use of a development environment has changed over time and it was interesting to note this evolution. Over the years I have tried many different text editors. I remember way back in the mid 1990s when I used a HTML editor called Hot Dog. I have also used applications such as Notepad, Crimson editor, Komodo editor and many more. In a more professionally setting, I have used Eclipse, NetBeans, and, when I joined a company that used Macs for development, I started using the fantastically simple and extensible TextMate. This opened my eyes to the concept that, in terms of IDEs, less is more. As I was using TextMate I was becoming more aware of the need to choose my IDE wisely and started to study where to go next; some of the candidates were Sublime Text, stick with TextMate or go wild and try Vim.
I decided to take the plunge and try to learn Vim; which I had only ever used sparsely to make minimal edits to text files in servers. I knew the bare minimum commands to painfully edit a text file, save the changes and then exit Vim as safely and as quickly as possible. Truth to be told, Vim had always seemed to me terrifying, unnecessarily complex, mystifying and with an incredibly steep learning curve. Nevertheless, I decided to bite the bullet and give it a proper try and have a proper attempt at learning it. So, I forced myself to only use Vim for all my text editing needs and, after overcoming the initial steep learning curve and enduring the pain that came with it, I was able to become extremely proficient at it. I have to admit that the effort has paid off and I have seen a huge increase in my productivity. I am now at the point where I wouldn’t go back to try other more GUI oriented IDEs. I am very happy to be able to achieve pretty much anything from the comfort of my keyboard without having to reach for the mouse.
The aim of this article is to portrait my current usage of Vim in combination with tmux to create what I consider a truly flexible and powerful integrated development environment. I don’t aim to advocate for this as the one and only IDE but rather I would like to demonstrate a little bit of the potential of my set up and hopefully open up some minds and awaken the curiosity of the readers.
My current setup has evolved into using Vim (with some sensible settings and useful plugins) in combination with Tmux to create a very powerful development environment where the terminal is the IDE. This is achieved by embracing the *NIX philosophy of having tools that do one task well and combining these tools in a modular way to achieve a huge variety of tasks.
The power of Tmux (or even screen for that matter) is the ability to have multiple terminal sessions running in windows and panes with a huge flexibility in their arrangement. For example, you could have your Vim open in one windwo for text editing, then in another window you could be tailing your logs, use yet another window to run random commands, and so on. Each window can be split into different panes according to your needs thus achieving the pane layout that better suits you. I will demonstrate such an arrangement in this mini tutorial as an example but the limit really is your imagination as to how you arrange your tmux sessions.
So, let’s dive into the example. It all starts with a fresh terminal session into your development server:

Start a new tmux session and give it a name:
$ tmux new -s coolproject
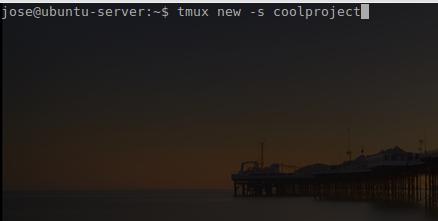
This will drop you into a fresh tmux session:
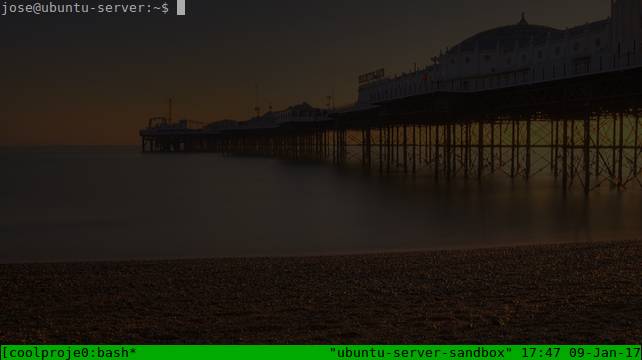
From here we can start setting up windows and panes the way we wish and according to our own development workflow. As an example, let’s assume that we are working on a Laravel project and we want to have one window with vim to edit the source code, another window split into a few panes to tail the different logs that we are interested in and another window to run random commands (artisan, composer, etc).
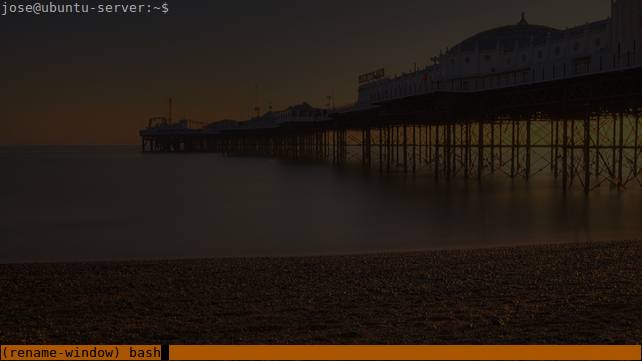
We would arrive to this set up like this. Remember that we are currently within Tmux, so the (default) key binding ctrl + b will send commands to Tmux. Firstly, we want to rename our current window to something suitable (IDE, editor, vim, whatever); I’ll settle for vim:
ctrl + b ,
That is, press the keys ctrl and b at the same time, then release them and press the key ,
This will change the colour of the bottom status bar and you will be able to press backspace to delete the default name and enter anything you wish:
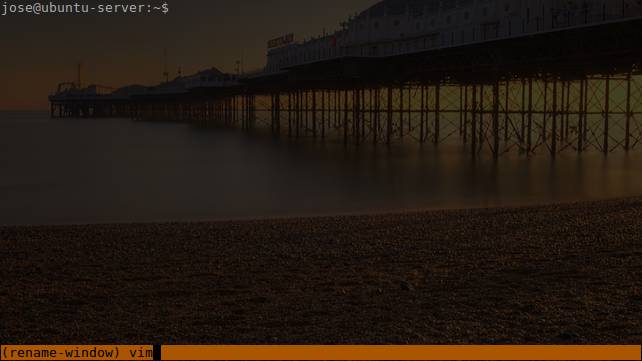
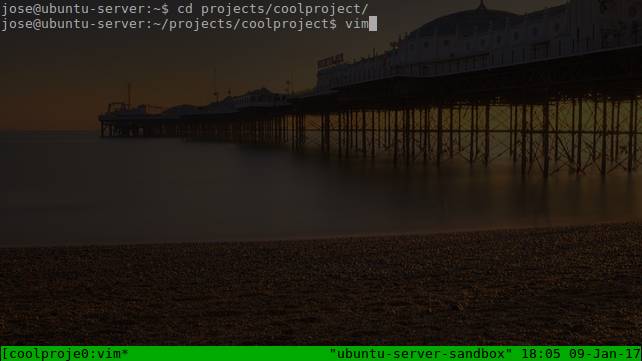
Press enter and you are done. We can now change to the root directory of our project and start vim:
$ cd projects/coolproject
$ vim

Next, we will create a new window to tail the logs:
ctrl + b c
ctrl + b ,
Rename the window to something meaningful, like logs.

If we observe carefully, we will see how the bottom status bar has changed and it is showing us the two windows that we now have and an asterisk next to the currently active window:
[coolproje0:vim- 1:logs*
We can also see that 0 is the index for the first window and 1 is the index for the second one. This information will be very useful later when we want to quickly switch between windows.
Now, for the sake of argument, let’s say we want to tail the apache access and error logs and our Laravel app log file in this new logs window. We will create three splits and in each split we will tail each one of these logs. There are many layout options, but I will limit myself to show only one of them. Feel free to explore tmux splits if you wish to learn more about it.
The commands that we need to know here are:
ctrl + b % splits the current pane into two; left and right
ctrl + b " splits the current pane into two: top and bottom
ctrl + b (arrow keys) move around the splits
ctrl + b hold and arrow keys resize the splits
And this is the actual sequence of commands we need to run to get our desired layout:
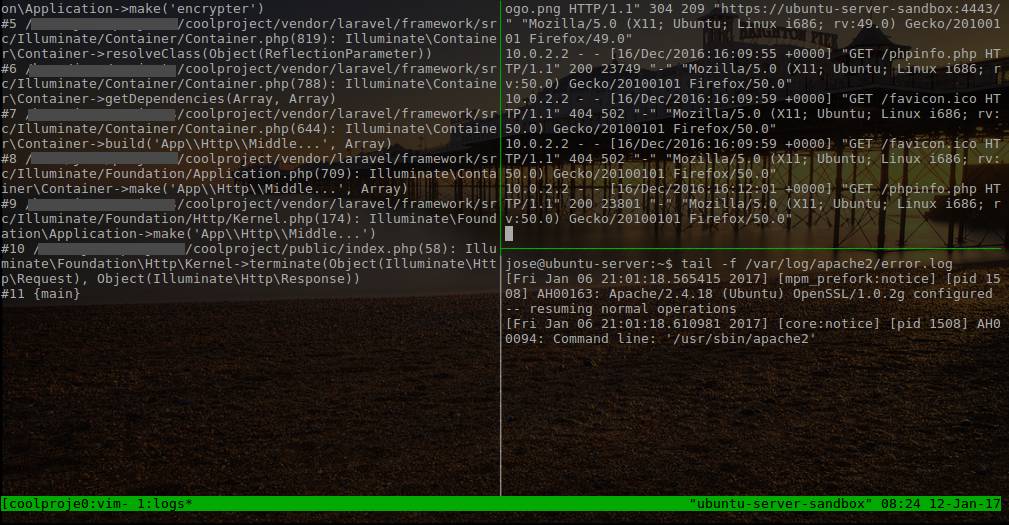
$ tail -f projects/coolproject/storage/logs/laravel.log
ctrl + b %
$ tail -f /var/log/apache2/access.log
ctrl + b "
$ tail -f /var/log/apache2/error.log
Here is a screenshot of what we should end up with:
Finally, we create another window and rename it to cli, this is where we will be able to run terminal commands as and when needed.
ctrl + b c
ctrl +b ,
Press backspace to get rid of the default name and type in “cli” (or any name you wish)
Press enter
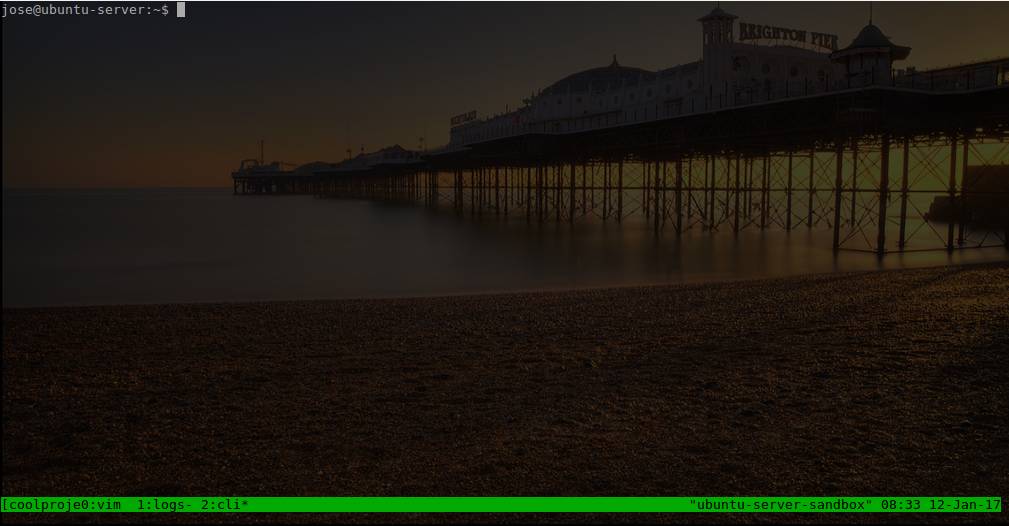
Once we have things set up this way, we can start navigating around our windows. If we want to edit files in our project, we move to the vim window by pressing ctrl +b 0. To view the logs the key combination would be: ctrl + b 1. And to issue commands at the terminal prompt: ctrl + b 2. Recall that the bottom status bar shows a useful index for each of our windows so we can easily switch between them.
Hopefully this will help you realise the power of what we have here; within one application and at the reach of your fingertips, you can move around your development environment and perform any required operations without ever leaving your keyboard and having to reach for the mouse.
After you have finished your development session, you can detach your tmux session and it will stay around for you to come back to it at a later point. To detach a tmux session type: ctrl +b d. It is important to note that tmux sessions are not persistent, so the sessions will only exist as long as the server is not restarted. There are tmux plugins that help with this situation and I will mention them in a moment.
Re-attaching to a tmux session is very simple; you can list your existing sessions with:
$ tmux ls
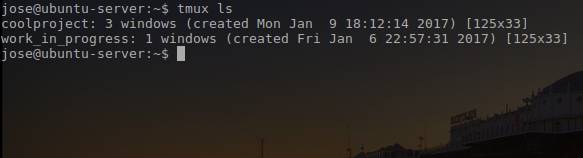
We can use that list to re-attach to an existing session. Here we have two tmux sessions: coolproject and work_in_progress. So, if we want to re-attach to the coolproject session, the command is:
$ tmux attach -t coolproject
Note: other aliases of the attach subcommand are: at or, simply, a
How to persist your tmux sessions and automate project layouts
There are two very useful tmux plugins called tmux-resurrect and tmuxinator which respectively allow you to persist your tmux sessions and specify layouts to automatically apply to your projects. Going in detail about them is out of scope for this tutorial and I haven’t started using any of them in earnest yet, so I might write another article(s) about them once I have.
A note about scrolling in tmux.
If you are not using the mouse you will quickly discover that you are unable to scroll up and down your tmux screens. This is a minor annoyance which can easily be sorted, but unfortunately it requires a few additional key strokes. In order to scroll in tmux you need to enter into what is called copy mode., this is achieved by pressing ctrl + b [.
Once you are into copy mode, you will be able to scroll up and down your screen by using the page up/down keys, your arrow keys or the mouse scroll wheel (if your tmux supports mouse integration). Copy mode is also called like this because in this mode is where you are able to select and copy text. To leave copy mode press q (no tmux prefix required).
If you enable vi keybindings in your .tmux.conf file you will even be able to use vi key combinations to navigate around the screen when in copy mode.
It is a minor annoyance having to do this, but I have found that, after a few times, it starts becoming second nature and it stops being a problem.
Conclusion
In this article I have only covered the basics of using tmux as a powerful integrated development environment (IDE) and hopefully have just whetted your appetite to go and find out more about this kind of workflow. I am not claiming this is the best or the only way to organise your IDE, but I have found that this setup works really well for me, it allows me to be very productive and it leads to a kind of flow or development bliss that really takes me places.
I know that everyone has their favourite tools and setups, so this article has no intentions to initiate any kind of holy wars. It will hopefully help to incite curiosity in some readers to explore the full potential of the terminal, tmux and vim. All of which, I am fully aware, have steep learning curves, but with huge rewards awaiting the determined developer.
I hope this is of use to someone and any constructive comments are always welcome. Why not share your own tips or preferred way of working with Vim and Tmux? Thank you for reading this far!
Thanks!